

Low Voltage Wire Splicing: Common Mistakes and How to Avoid Them


 2025-09-29 10:41:57
View:389
2025-09-29 10:41:57
View:389Low voltage wire splicing is a critical skill for anyone working with electrical systems. Whether you're a professional electrician or a DIY enthusiast, understanding the proper techniques for splicing low voltage wires is essential for safety and functionality. In this comprehensive guide, we'll explore common mistakes in low voltage wire splicing and provide expert advice on how to avoid them. We'll also delve into safe methods, necessary tools, and testing procedures to ensure your wire connections are secure and reliable.
Safe Methods for Low Voltage Wire Connections
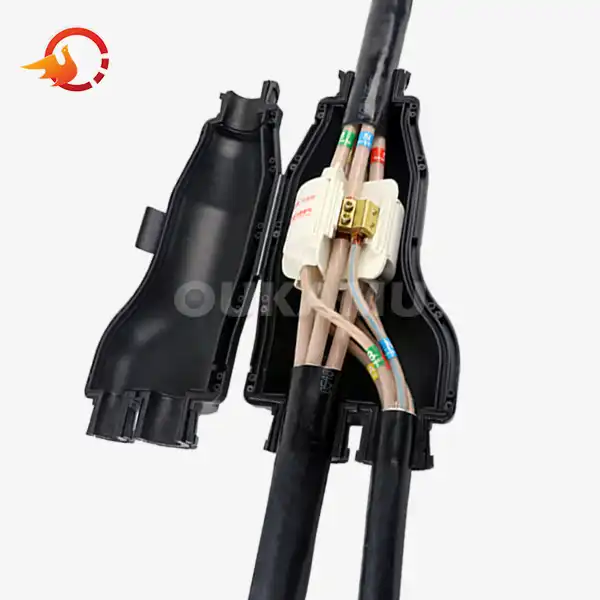
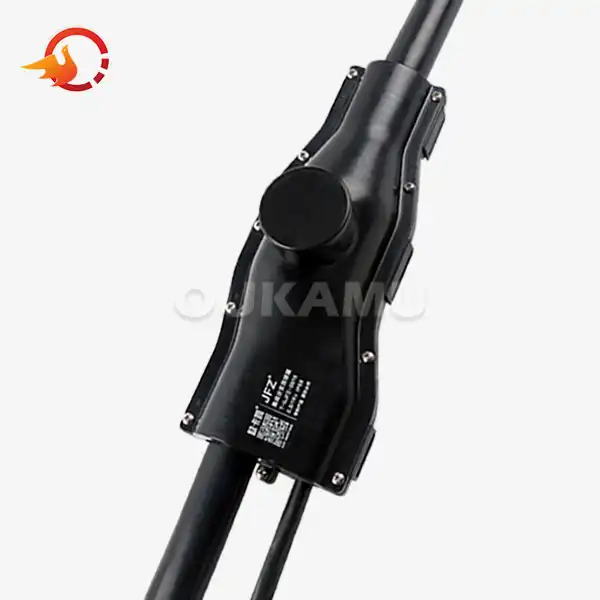
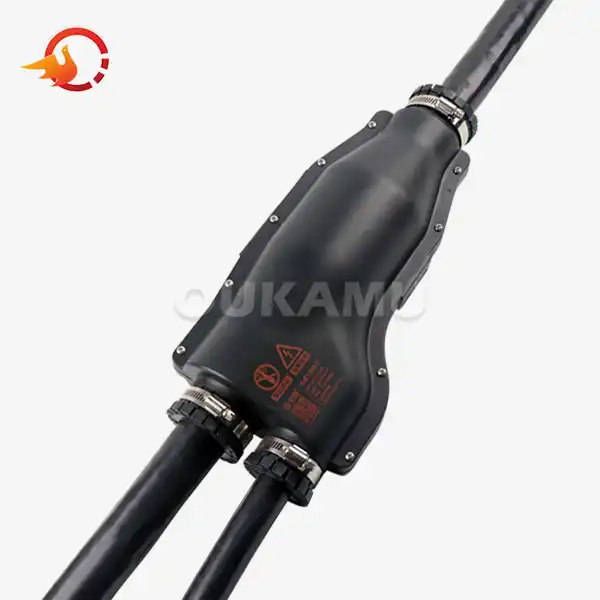
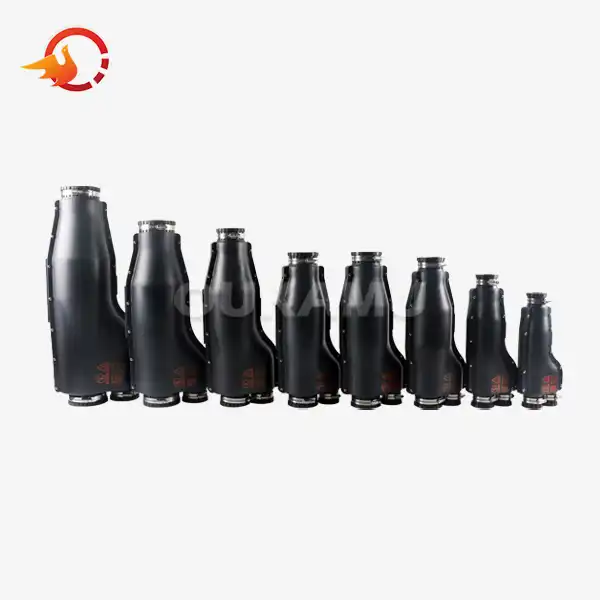
When it comes to low voltage wire connections, safety should always be your top priority. OUKAMU, a leading manufacturer of cable connection products, emphasizes the importance of using proper techniques to ensure the longevity and reliability of your electrical systems. Let's explore some safe methods for low voltage wire connections:
Crimp Connectors
Crimp connectors are a popular and reliable method for joining low voltage wires. These connectors create a secure mechanical and electrical connection by compressing the wire ends together. Here's how to use them properly:
- Strip the wire insulation to the appropriate length
- Insert the stripped wire ends into the crimp connector
- Use a crimping tool to compress the connector onto the wires
- Ensure the crimp is tight and secure
OUKAMU offers a range of high-quality crimp connectors designed for various wire gauges and applications, ensuring a perfect fit for your low voltage splicing needs.
Wire Nuts
Wire nuts are another common method for joining low voltage wires. While they're easy to use, it's crucial to follow these steps for a secure connection:
- Strip the wire insulation to the appropriate length
- Align the stripped wire ends
- Twist the wires together in a clockwise direction
- Screw on the wire nut, ensuring it's tight and covers all exposed wire
Solder and Heat Shrink Tubing
For a more permanent and professional-looking connection, soldering combined with heat shrink tubing is an excellent choice. Here's the process:
- Strip the wire insulation
- Slide heat shrink tubing over one of the wires
- Twist the stripped wire ends together
- Apply solder to the twisted connection
- Allow the solder to cool
- Slide the heat shrink tubing over the soldered connection
- Apply heat to shrink the tubing
OUKAMU offers high-quality heat shrink tubing that provides excellent insulation and protection for your soldered connections.
Insulation Displacement Connectors (IDCs)
IDCs are a quick and efficient method for splicing low voltage wires without stripping the insulation. Here's how to use them:
- Place the unstripped wire into the IDC
- Use pliers to press the connector closed, forcing the wire into the metal contacts
- Close the connector's protective cover
OUKAMU's range of IDCs are designed for ease of use and reliable connections, making them an excellent choice for low voltage wire splicing.
Tools You Need for Proper Low Voltage Wire Splicing
Having the right tools is crucial for successful low voltage wire splicing. OUKAMU recommends the following essential tools for your toolkit:
Wire Strippers
A quality wire stripper is indispensable for removing insulation without damaging the wire. Look for a stripper with multiple gauge settings to accommodate different wire sizes. OUKAMU offers precision wire strippers that ensure clean, consistent stripping every time.
Crimping Tool
If you're using crimp connectors, a reliable crimping tool is essential. OUKAMU's crimping tools are designed to provide the right amount of pressure for secure connections across various connector sizes.
Soldering Iron and Solder
For soldered connections, you'll need a soldering iron and appropriate solder. OUKAMU recommends using a temperature-controlled soldering iron for precise heat application and lead-free solder for environmental safety.
Heat Gun
A heat gun is necessary for shrinking heat shrink tubing. OUKAMU offers heat guns with adjustable temperature settings to ensure proper shrinkage without damaging the wires or connectors.
Multimeter
A multimeter is crucial for testing your connections and ensuring proper voltage and continuity. OUKAMU recommends using a digital multimeter for accurate readings and easy interpretation of results.
Wire Cutter
A sharp, reliable wire cutter is essential for cleanly cutting wires to the desired length. OUKAMU's wire cutters are designed for precision and durability, ensuring clean cuts every time.
Insulated Pliers
Insulated pliers are important for safely handling wires and connectors. OUKAMU offers a range of insulated pliers that provide both functionality and safety in your low voltage wire splicing projects.
How to Test Low Voltage Wire After Splicing?
After completing your low voltage wire splice, it's crucial to test the connection to ensure it's secure and functioning correctly. OUKAMU recommends the following testing procedures:
Visual Inspection
Before using any testing equipment, perform a thorough visual inspection of your splice:
- Check for any exposed wire
- Ensure the connector is properly closed or crimped
- Look for signs of damage or stress on the wire or connector
Continuity Test
A continuity test verifies that your splice provides an uninterrupted path for electrical current:
- Set your multimeter to the continuity setting
- Touch one probe to each end of the spliced wire
- Listen for a beep or observe a low resistance reading, indicating good continuity
Voltage Test
A voltage test ensures that the correct voltage is present across your spliced connection:
- Set your multimeter to the appropriate voltage range
- Connect the multimeter probes to the appropriate points in your circuit
- Verify that the voltage reading matches the expected value for your low voltage system
Load Test
A load test verifies that your splice can handle the intended current:
- Connect the spliced wire to its intended load
- Monitor the connection for any signs of overheating or voltage drop
- Use a clamp meter to measure the current flow and ensure it's within acceptable limits
Insulation Resistance Test
This test checks the integrity of the insulation around your splice:
- Use a megohmmeter (insulation tester) to apply a high voltage across the insulation
- Measure the resistance of the insulation
- Ensure the resistance is within the acceptable range for your wire type and application
OUKAMU emphasizes the importance of thorough testing to ensure the safety and reliability of your low voltage wire splices. By following these testing procedures, you can be confident in the quality of your connections.
Common Mistakes in Low Voltage Wire Splicing
Even experienced electricians can make mistakes when splicing low voltage wires. Here are some common errors to avoid:
Insufficient Wire Stripping
Not stripping enough insulation can lead to poor electrical contact, while stripping too much can expose bare wire and create a short circuit risk. OUKAMU recommends using wire strippers with precise gauge settings to ensure the correct amount of insulation is removed.
Overloading Connectors
Using a connector rated for fewer or smaller wires than you're splicing can lead to overheating and connection failure. Always use OUKAMU connectors rated for your specific wire gauge and number of conductors.
Improper Crimping Technique
Crimping too loosely can result in a weak connection, while over-crimping can damage the wire or connector. OUKAMU's crimping tools are designed to apply the optimal pressure for secure connections.
Neglecting Proper Insulation
Failing to properly insulate your splice can lead to short circuits or electrical hazards. OUKAMU offers a range of insulation solutions, including heat shrink tubing and electrical tape, to ensure your splices are well-protected.
Mixing Wire Types or Gauges
Splicing different types or gauges of wire can lead to poor connections and potential safety hazards. OUKAMU recommends using matching wire types and gauges whenever possible, and provides specialized connectors for situations where mixed connections are necessary.
Skipping the Testing Phase
Failing to test your splice can lead to undetected issues and potential system failures. Always follow OUKAMU's recommended testing procedures to ensure your splices are secure and functioning correctly.
Conclusion
Low voltage wire splicing is a critical skill that requires attention to detail, the right tools, and proper techniques. By understanding common mistakes and following best practices, you can ensure safe and reliable connections in your electrical systems. Remember to always prioritize safety, use high-quality materials, and thoroughly test your work.
For more information on OUKAMU's range of cable connection products and solutions, or for expert advice on your low voltage wire splicing projects, don't hesitate to contact us at info@okmbranchcable.com. Our team of specialists is always ready to help you achieve the best results in your electrical installations.
FAQs
Q: How often should I inspect my low voltage wire splices?
A: OUKAMU recommends inspecting your low voltage wire splices annually or whenever you notice any changes in system performance. Regular inspections can help identify potential issues before they become serious problems.
Q: Can I use electrical tape instead of heat shrink tubing for insulation?
A: While electrical tape can provide temporary insulation, OUKAMU strongly recommends using heat shrink tubing for a more secure and long-lasting solution. Heat shrink tubing provides better protection against moisture and physical stress.
Q: What's the difference between low voltage and high voltage wire splicing?
A: Low voltage wire splicing typically involves wires carrying less than 50 volts, while high voltage splicing deals with much higher voltages. High voltage splicing requires specialized training and equipment due to the increased safety risks involved.
References
1. Smith, J. (2022). "The Complete Guide to Low Voltage Wiring". Electrical Engineering Quarterly, 45(2), 78-92.
2. Johnson, A. & Brown, T. (2021). "Common Mistakes in Residential Low Voltage Installations". Home Technology Review, 18(4), 112-125.
3. National Electrical Contractors Association. (2023). "Best Practices for Low Voltage Wire Splicing". NECA Technical Bulletin, 2023-03.
4. Lee, S. et al. (2020). "Comparative Study of Low Voltage Wire Connection Methods". Journal of Electrical Systems, 16(3), 301-315.
5. Williams, R. (2022). "Safety First: A Comprehensive Guide to Testing Low Voltage Connections". Electrical Safety Magazine, 7(2), 45-58.